
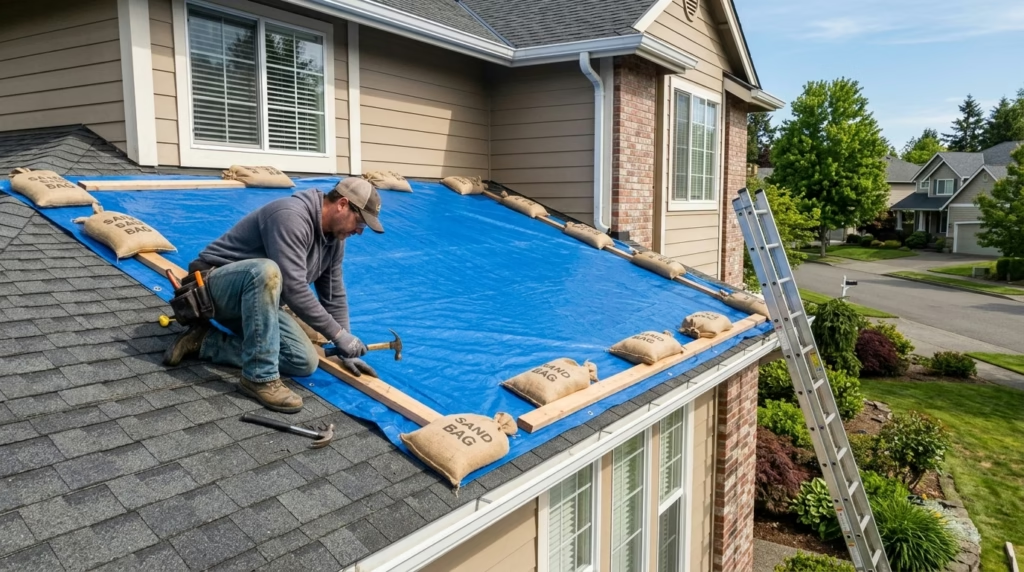
How to Temporarily Fix a Leaking Roof Until Help Arrives
A temporary roof repair won’t fix your leak permanently — but done right, it stops water damage from compounding while you wait for a professional. A $15 tarp applied today can prevent a $1,500 decking replacement next month.
The key word is temporary. Every method below buys you days to weeks, not years. And safety comes before the roof every single time: no repair is worth a fall. If conditions aren’t safe, stick to the interior steps in our step-by-step guide for a leaking roof and call for emergency roof leak repair.
The Golden Rules of Temporary Roof Repair
- Never go on a wet, icy, or wind-blown roof. Wait for dry, calm, daylight conditions. This rule has no exceptions.
- Never work on a steep roof without fall protection. If the slope makes you nervous standing on it dry, stay off it.
- Temporary means temporary. Schedule the permanent repair now — patches degrade, tarps loosen, and sealants fail.
- Don’t make it worse. Nailing through good shingles to hold a tarp, or smearing caulk over failed flashing, can turn a simple repair into a bigger one. When in doubt, contain water from inside instead.
Method 1: Interior Containment (Safest — No Roof Access Needed)
This is where everyone should start, and for many leaks it’s all you need until the pro arrives.
- Buckets and containers under every drip, with a towel in the bottom to prevent splashing.
- Towels and plastic sheeting protecting floors along the drip path.
- Attic tarping: If you have safe attic access, drape a plastic tarp over the wet section of roof deck so incoming water runs down the plastic into a bucket instead of soaking insulation. You’re redirecting water, not stopping it — but redirection prevents most interior damage.
- Relieve bulging drywall: A ceiling bulging with trapped water can collapse. Poke a pencil-sized hole at the lowest point (away from any electrical) and drain it into a bucket.
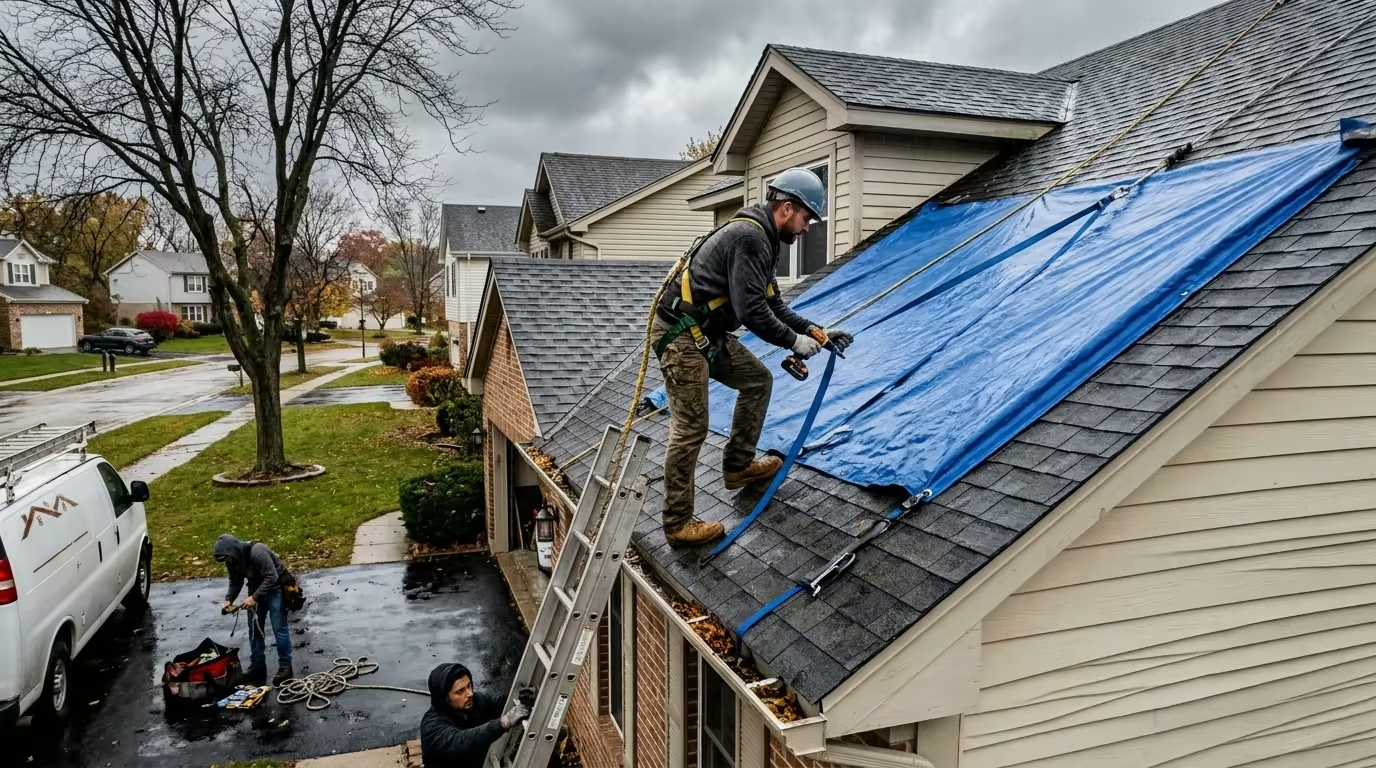
Method 2: Tarping the Roof (Best Exterior Temporary Fix)
A properly secured tarp is the gold standard of temporary roof repair. Here’s how to do it right:
What you need
- A heavy-duty tarp large enough to extend at least 4 feet past the damaged area on all sides (bigger is better)
- 2×4 lumber boards or sandbags for securing
- A sturdy ladder, work gloves, and non-slip shoes
Steps
- Wait for safe conditions — dry roof, daylight, winds under ~15 mph.
- Find the damaged area from the attic first if possible, so you know where to center the tarp.
- Unroll the tarp over the ridge — the top edge should go over the peak so water can’t run underneath it. This is the most important detail; a tarp that stops below the ridge funnels water under itself.
- Extend past the damage on all sides, especially downhill.
- Secure without new holes: Sandwich the tarp edges between pairs of 2×4 boards (roll the edge around the board), or weigh edges down with sandbags. Do not nail or staple through shingles you intend to keep — every new hole is a future leak.
- Check after wind. Tarps loosen. Re-secure as needed until the permanent repair.
A well-secured tarp lasts several weeks to a few months. Check our 2026 roof leak repair cost guide for what the permanent fix will run.
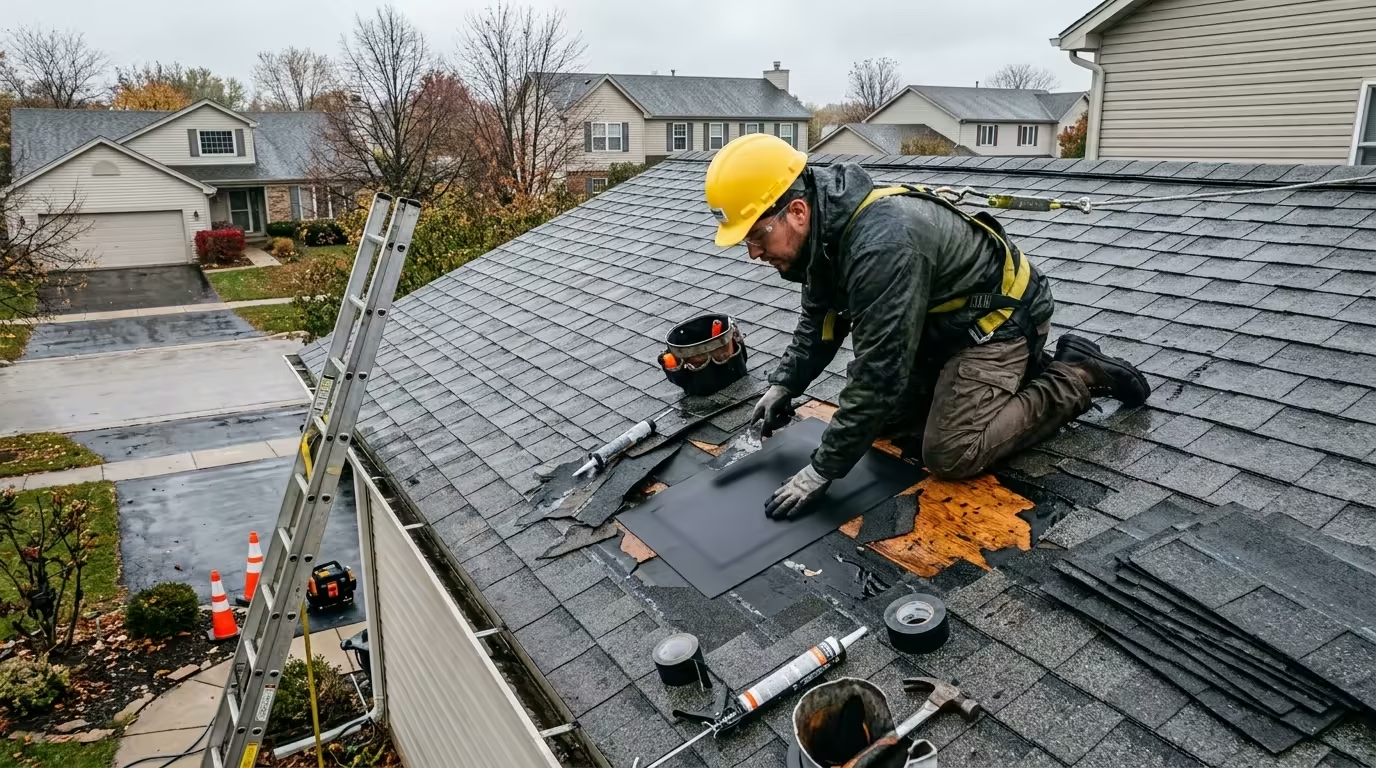
Method 3: Roofing Cement / Sealant Patch (Small, Obvious Gaps Only)
For a small, clearly visible problem — a cracked vent boot, a lifted shingle tab, a tiny gap in flashing — roofing cement (available at any hardware store) can seal it temporarily:
- Clean the area — brush away debris and loose material. Sealant won’t bond to dirt.
- Apply generously with a trowel or putty knife, pressing cement under lifted edges and over the gap.
- Embed a patch for larger spots: press a piece of flashing or shingle scrap into wet cement, then cover with another layer.
- Work in dry conditions — most roofing cement needs a dry surface and 24 hours to cure.
Limits: This works for pinholes and small cracks, not for failed flashing systems, rotted decking, or anything you can’t clearly see and reach safely. And never use interior caulk or silicone bathroom sealant on a roof — it won’t survive UV and temperature swings.
Method 4: Shingle Tab Re-securing
If wind lifted a shingle tab but didn’t tear it off:
- Gently lift the tab and apply a dab of roofing cement underneath.
- Press it back down firmly.
- Optionally place a small weight (like a brick wrapped in cloth) on it for an hour — remove afterward so it doesn’t blow off and damage something.
Missing shingles are harder: a temporary patch of roofing cement covered with a shingle scrap works short-term, but the proper repair is replacing the shingles and checking the underlayment.
Temporary Fixes for Flat Roofs
Flat roof leaks need a slightly different approach — see our full flat roof leak repair guide, but the temporary version is:
- Clear ponding water with a soft broom or squeegee (standing water finds every weak seam).
- Patch blisters or punctures with peel-and-stick roofing membrane or roofing cement + fabric mesh, applied to a clean, dry surface.
- Don’t coat the whole roof with random sealants — incompatible coatings can void membrane warranties and complicate the permanent repair.
What NOT to Do
| Don’t | Why |
|---|---|
| Spray foam (expanding insulation) on the leak | Traps moisture, hides damage, makes proper repair harder and pricier |
| Interior ceiling paint or “leak seal” paint | Cosmetic only — water keeps coming behind it |
| Nailing a tarp through good shingles | Creates new leak points |
| Using a pressure washer to “find” the leak | Forces water deeper into the roof assembly |
| Climbing up during the storm | Fall risk; you can’t do effective work in those conditions anyway |
| Ignoring it because the drip stopped | The leak path is still there — the next rain reopens it |
How Long Can a Temporary Fix Last?
| Method | Realistic Lifespan |
|---|---|
| Interior buckets/containment | Indefinite (but damage continues above) |
| Secured tarp | Several weeks to ~3 months |
| Roofing cement patch | Weeks to a few months |
| Peel-and-stick membrane patch | 1–6 months |
Treat every one of these as a countdown timer. Book the permanent repair the same week you apply the temporary fix — the longer a “temporary” patch sits, the more likely it becomes the thing that failed expensively. Wondering what the permanent fix will cost locally? See our Carol Stream roof leak repair cost breakdown.
Frequently Asked Questions
What’s the fastest way to stop a roof leak temporarily?
From inside: buckets under drips plus a tarp in the attic redirecting water. From outside (safe conditions only): a tarp extended over the ridge and secured with boards. Interior containment takes minutes; tarping takes under an hour.
Can I use Flex Seal or similar spray products on my roof?
They can slow a tiny leak briefly, but they’re not a real temporary repair: they don’t bond well to dirty/wet roofing, degrade fast in UV, and can interfere with the permanent fix. A tarp or roofing cement is more reliable.
Will a tarp damage my roof?
A properly secured tarp (over the ridge, weighted or board-secured edges, no nails through shingles) causes minimal harm for weeks. A poorly secured tarp flaps in wind and abrades shingle granules — secure it well and remove it once the real repair is done.
How do I temporarily fix a roof leak in winter?
Winter is the hardest season: sealants won’t cure below ~40°F, and roofs are icy. Focus on interior containment and attic tarping, clear snow load carefully with a roof rake from the ground, and call a professional — winter emergency service exists for exactly this situation.
Is a temporary roof repair covered by insurance?
Reasonable emergency mitigation (tarps, emergency patching) is often reimbursable under a homeowner’s policy when the cause is a covered event like a storm. Keep all receipts and document the damage before you cover it.
When should I skip DIY and call immediately?
If water is near electricity, a ceiling is sagging, the roof is steep or the conditions are unsafe, or you can’t identify the source — call for emergency help instead of attempting an exterior fix.
Bought yourself time? Now get it fixed right.
Further Reading
- This Old House: Emergency Roof Leak Repair Costs & Safety — what counts as a roofing emergency and how to stay safe
- Family Handyman: 12 Tips for Finding and Fixing Roof Leaks — practical leak-detection tips for homeowners
External links open in a new tab and are provided for reference; we are not affiliated with these publishers.
Roof leaking in Carol Stream? Get help fast.
Call Carol Stream Leak & Restoration at (630) 866-1445 — we’ll connect you with a local repair professional serving Carol Stream, Bloomingdale, Glendale Heights, Wheaton, Hanover Park, Bartlett, and West Chicago.
Carol Stream Leak & Restoration is a local referral service that connects homeowners with independent local repair professionals; it is not a roofing contractor.