
How to Find a Roof Leak: Complete Detection Guide
A drip in the living room doesn’t mean the leak is directly above it. Knowing how to find a roof leak at its true source can be the difference between a simple repair and thousands of dollars in hidden damage. Water travels along rafters, pipes, and wiring before it finally drips through your ceiling — often several feet away from where it entered. If you’re seeing signs of roof leak damage, this guide walks you through the exact process professionals use to track a leak back to its source, safely and methodically.
Dealing with a leak you can’t pin down? Our attic & hose-test tracing method walks through finding hidden leak sources step by step.
The good news: most leaks leave a trail. With a flashlight, a ladder, and about an hour, you can usually narrow the source to one roof penetration or section. Below is the detection process in professional order — inside first, then outward to the roof.
How to Find a Roof Leak: Start with the Attic Inspection
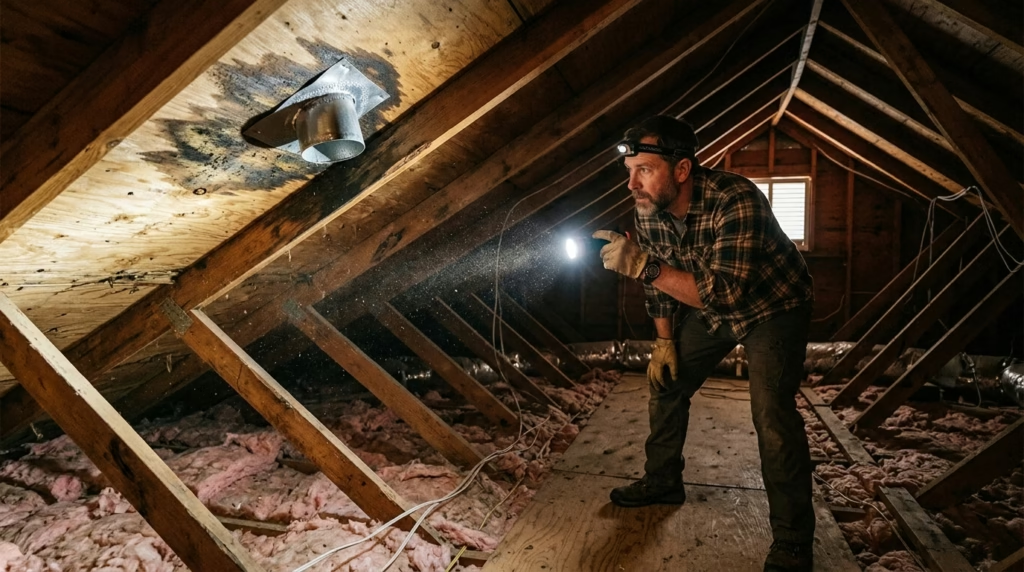
The attic is the single best place to find a roof leak’s origin. From underneath, the roof deck tells the whole story — stains, damp spots, and daylight holes that are invisible from outside.
What You’ll Need
- Bright flashlight (a headlamp is even better, keeping both hands free)
- Sturdy ladder
- Work gloves, dust mask, and long sleeves (attic insulation irritates skin)
- A piece of chalk or painter’s tape to mark spots
- Phone camera to document what you find
- A measuring tape
Safety First
Attic inspections are safe when done carefully: only step on ceiling joists, never on drywall between them. If insulation covers the joists, probe ahead slowly. Go during daylight but not during a downpour, and in summer go early — Carol Stream attics can exceed 140°F. If the attic has no flooring and joists are hard to reach, inspect from the hatch with a bright light instead.
What to Look For
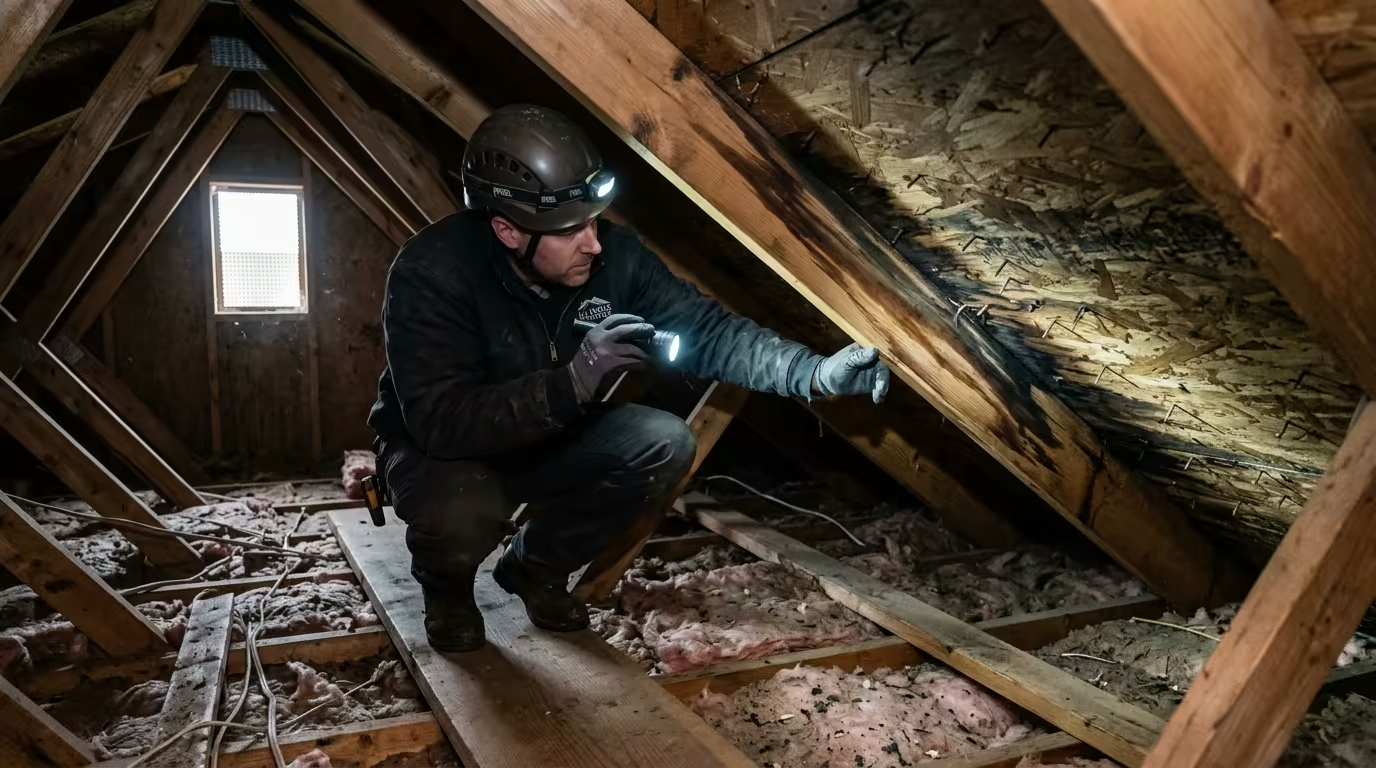
Shine your light along the underside of the roof deck (the plywood or boards you see from below) and look for:
- Dark stains or rings on the wood — the most common sign. Active leaks look damp and may feel wet; older leaks leave brown, gray, or black rings.
- Mold or mildew growing on wood, insulation, or around nails — indicates moisture has been present over time.
- Wet or compressed insulation — fiberglass loses effectiveness when wet and dries with a telltale clumpy appearance.
- Nail tips with rust or drip marks — water often follows fasteners down and drips off nail points.
- Daylight shining through — any pinhole of light from above is a hole that also lets water in.
- Water trails on rafters — look for darker streaks running down the slope of the wood. The top of the streak is uphill from the stain — follow it up.
Mark every suspicious spot with chalk or tape, and photograph each one. These marks become your map.
Tracing Stains Uphill to the Source
Here’s the key principle of roof leak detection: water flows downhill. A stain on your ceiling or attic deck is almost always downhill from the actual entry point. Water enters through a gap — a cracked shingle, failed flashing, or worn pipe boot — then runs down the roof deck, along a rafter, or down a pipe before dripping into your home.
The Tracing Method
- Start at the wettest spot — the active drip or darkest stain.
- Look uphill from that spot (toward the roof peak) for the trail: darker wood, staining, or damp insulation forming a path.
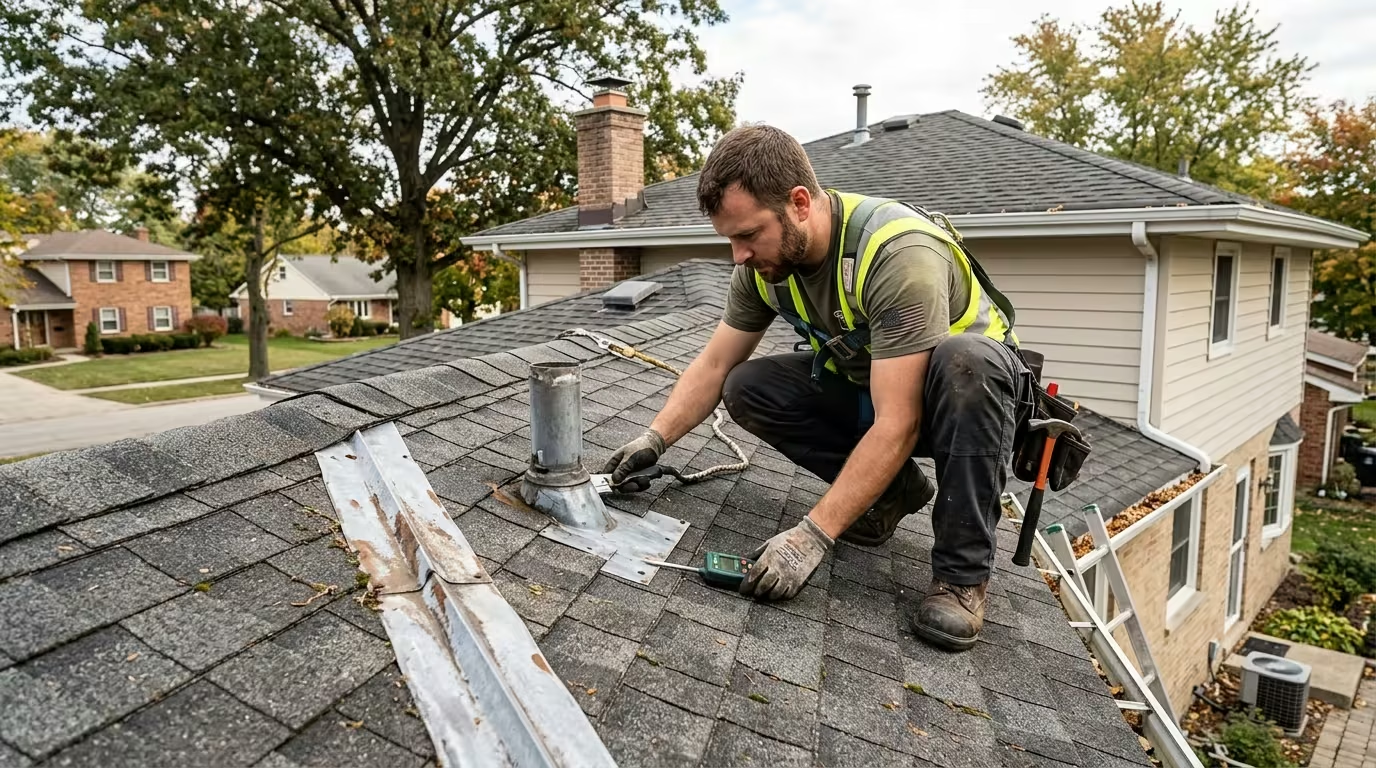
- Follow that trail uphill as far as it goes. The trail usually ends at or near the actual entry point — often at a roof penetration like a vent pipe, chimney, skylight, or dormer valley.
- Measure and note the trail’s position relative to a fixed landmark (a vent pipe, the gable end, a chimney). From the ground outside, you can then map that spot to a point on the roof surface.
About 90% of residential leaks start at a penetration or transition rather than in plain shingle field. Focus on vent pipes, chimneys, skylights, valleys, and anywhere a wall meets the roof. If your trail leads under a skylight leak repair, the flashing — not the glass — is usually the culprit.
Inspecting the Roof from Outside
Once you’ve mapped the likely area from the attic, verify from the exterior. You don’t necessarily need to climb onto the roof — much of this can be done from a ladder at the eave or with binoculars from the ground.
Ground-Level and Ladder Inspection
- Binoculars scan: Look for missing, cracked, or curled shingles; dark patches that suggest worn granules; damaged flashing; and debris in valleys.
- Ladder check at the eave: Look up the roof slope toward the area you mapped from the attic. Check for lifted shingles, exposed nail heads, and cracked sealant around vents.
- Gutters: Overflowing or sagging gutters force water back under the eaves — a frequent hidden cause of leaks that appear to come from “nowhere.”
If You Go Onto the Roof
Only walk on the roof if it is dry, you have a stable ladder on level ground, and you’re comfortable with heights. Wear soft-soled shoes for grip. Walk on the lower portion of shingles near their nailing strip, and never on a wet, icy, or moss-covered roof. If the roof is steep (greater than about a 6/12 pitch) or you’re unsure — stay off and call a professional.
The Controlled Water Test (Hose Method)
When the source still isn’t obvious, professionals use a controlled water test. You control where the water goes, one section at a time — which is why it works.
How to Do It
You’ll need two people: one on the roof with a garden hose, one in the attic watching with a flashlight (a phone call or radio helps).
- Start LOW on the roof, below the suspected area. Run water gently over one small section for several minutes.
- The person in the attic watches for any new dripping. If nothing appears after 5–10 minutes, move up the slope a few feet and repeat.
- Work your way UP the roof, section by section. When water appears inside, you’ve just passed over the entry point — it’s in the section you most recently soaked.
- Never blast water upward under shingles or spray above the suspect area first — flooding the whole roof tells you nothing. Isolate, then confirm.
Important safety notes: Test on a dry day so you can distinguish test water from rainwater. Never hose-test a visibly sagging roof or a low-slope section where water ponds. If the attic is cramped or you can’t position a spotter safely, call a professional — a pro can also confirm roof leak vs plumbing leak first.
Common Leak Locations Checklist
When you’re inspecting, run through these most frequent leak sources — in most homes, the leak is one of them:
| Leak Source | What It Looks Like | Why It Fails |
|---|---|---|
| Pipe boots (vent pipe flashings) | Cracked or split rubber collar around the pipe | UV and age dry out the rubber in 8–15 years |
| Chimney flashing | Gaps, rust, or separated step flashing at the chimney base | Expansion, mortar deterioration, poor original install |
| Valley flashing | Stains along the line where two roof slopes meet | Debris dams, worn metal, ice damage |
| Skylight flashing | Dampness in the corners of the skylight well | Failed seals or step flashing around the frame |
| Dormer/wall intersections | Stains below where a wall meets the roof | Missing or corroded step flashing |
| Nail pops | Small raised shingles with exposed nail heads | Nails backing out from thermal movement |
| Gutters/eaves | Water stains at the exterior wall top or soffit | Clogged or sagging gutters pushing water backward |
| Ridge vents | Stains near the roof peak in a straight line | Cracked vent material or wind-driven rain entry |
If you suspect a vent pipe, read our guide on roof vent leak repair — failed boots are the number-one single cause we see in Carol Stream homes.
When the Leak Isn’t the Roof
Before you spend a weekend on roof detection, rule out the impostors — plumbing leaks, HVAC condensation, and attic condensation can look exactly like roof leaks:
- Timing: Roof leaks appear during or shortly after rain. If the stain is wet on a dry day with no rain in the forecast, suspect plumbing or condensation instead.
- Location near bathrooms/kitchens: Stains directly below a bathroom are often plumbing. Our guide on roof leak vs plumbing leak walks through a 2-minute test to tell the difference.
- Water color and smell: Roof water is usually clear to brownish (from wood/tar). Discolored, odorous, or soapy water points to plumbing.
- Winter frost: In Illinois winters, frost melting on attic nails can drip and mimic a leak — check whether the “leak” only happens on very cold days and consider improving ice dam roof leak.
What to Do After You Find the Source
Finding the leak is step one; stopping the damage is step two.
- Contain interior damage: Place a bucket under active drips. If a ceiling bulge is holding water, poke a small hole with a screwdriver at its lowest point to drain it into a bucket — this prevents a sudden ceiling collapse. Move furniture and cover flooring.
- Temporary exterior patch: If rain is coming and you can safely reach the area, a secured tarp or roofing cement over the suspect spot buys time until a proper repair.
- Document everything: Photograph the leak source, interior damage, and any temporary measures. You’ll need this for insurance if you file a claim.
- Get a professional assessment: A qualified local roofer confirms the diagnosis and quotes the real repair. Small fixes (a pipe boot, a flashing patch) are often a few hundred dollars; letting the leak continue can rot decking and framing, multiplying the cost tenfold.
Frequently Asked Questions
How do I find a roof leak if I can’t get into my attic?
Map the ceiling stain’s location, then scan the roof above and uphill from it with binoculars, focusing on penetrations (vents, chimney, skylights) and valleys. A hose test with a helper watching the ceiling can confirm the spot. If you can’t inspect safely, a professional leak-detection visit costs far less than guessing wrong.
Why is the leak in my ceiling not directly under the damaged shingle?
Water runs downhill along the roof deck, rafters, and pipes before gravity pulls it through your ceiling. The entry point is almost always uphill (toward the ridge) from the interior stain — sometimes 5 to 10 feet away. That’s why tracing the trail uphill from the attic is the most reliable method.
Can I find a roof leak while it’s raining?
Yes — active rain makes dripping easier to spot in the attic, and it’s the best time to confirm a suspected source. But wet roofs are dangerous to walk on, so during rain stick to the attic and ground-level inspection. Save roof walking and hose tests for dry weather.
How much does professional roof leak detection cost in Carol Stream?
Many local roofers inspect and quote minor leak repairs for free or a modest service-call fee. Complex leaks may warrant a paid diagnostic visit. Calling sooner costs less — every rain event expands the damage.
Is a water stain on the ceiling always a roof leak?
No. Plumbing leaks, HVAC condensation lines, and attic condensation from poor ventilation cause identical-looking stains. The timing test is your fastest filter: if the stain gets wet only during or right after rain, it’s almost certainly the roof. If it’s wet on dry days, investigate plumbing and condensation first.
Get Help Pinpointing Your Leak in Carol Stream
Further Reading
- Family Handyman: 12 Tips for Finding and Fixing Roof Leaks — practical leak-detection tips for homeowners
- This Old House: How to Find and Fix a Roof Leak — step-by-step leak-finding and repair walkthrough from a trusted home-improvement source
External links open in a new tab and are provided for reference; we are not affiliated with these publishers.
Roof leaking in Carol Stream? Get help fast.
Call Carol Stream Leak & Restoration at (630) 866-1445 — we’ll connect you with a local repair professional serving Carol Stream, Bloomingdale, Glendale Heights, Wheaton, Hanover Park, Bartlett, and West Chicago.
Carol Stream Leak & Restoration is a local referral service that connects homeowners with independent local repair professionals; it is not a roofing contractor.