
DIY Roof Leak Repair: What You Can (and Can’t) Do Yourself
Water is coming through your ceiling and your first instinct is to grab a ladder and fix it. Sometimes that instinct is right — there are genuinely useful things a homeowner can do. Other times, DIY roof leak repair turns a $400 problem into a $4,000 problem, or worse, a trip to the emergency room. This guide draws the line honestly: what you can safely handle, what buys you time until a pro arrives, and what you should never attempt.
If at any point the job feels beyond you, there is no shame in calling for help — a fast emergency roof leak repair costs far less than a hospital bill or a ruined roof deck.
The Honest Answer Up Front
Do yourself: interior damage control, finding and documenting the leak’s source, and simple temporary measures from inside the attic or from a securely positioned ladder at the eave.
Call a pro: anything requiring you to walk on the roof, structural or electrical issues, leaks you can’t trace, and any repair involving flashing replacement, decking, or multiple roof slopes.
Falls are the leading cause of serious DIY roofing injuries. A wet or icy roof — common in Illinois for half the year — is unforgiving. Respect that, and most DIY leak work is safe and genuinely helpful.
Step 1: Damage Control Inside (Do This First)
Before you touch the roof, protect the house. These steps take 15 minutes and prevent most of the expensive secondary damage:
- Catch the water. Place buckets or tubs under drips. For a spreading ceiling stain, lay down plastic sheeting or tarps over furniture and flooring.
- Move valuables. Electronics, documents, and anything that can’t get wet goes to another room.
- Relieve a bulging ceiling. If water is pooling and the drywall is sagging, poke a small hole with a screwdriver at the lowest point of the bulge and let it drain into a bucket. This prevents a sudden ceiling collapse.
- Kill power to wet areas. If water is near light fixtures, outlets, or running down walls, switch off the breaker for that circuit. Water and electricity are a lethal combination.
- Photograph everything. Ceiling stains, drips, damaged belongings — date-stamped photos are gold for insurance claims later.
These aren’t glamorous, but they are the highest-value DIY actions you can take. Most water damage roof repair bills come from what happened after the leak started, not the leak itself.
Step 2: Find the Source (From the Attic, Not the Roof)
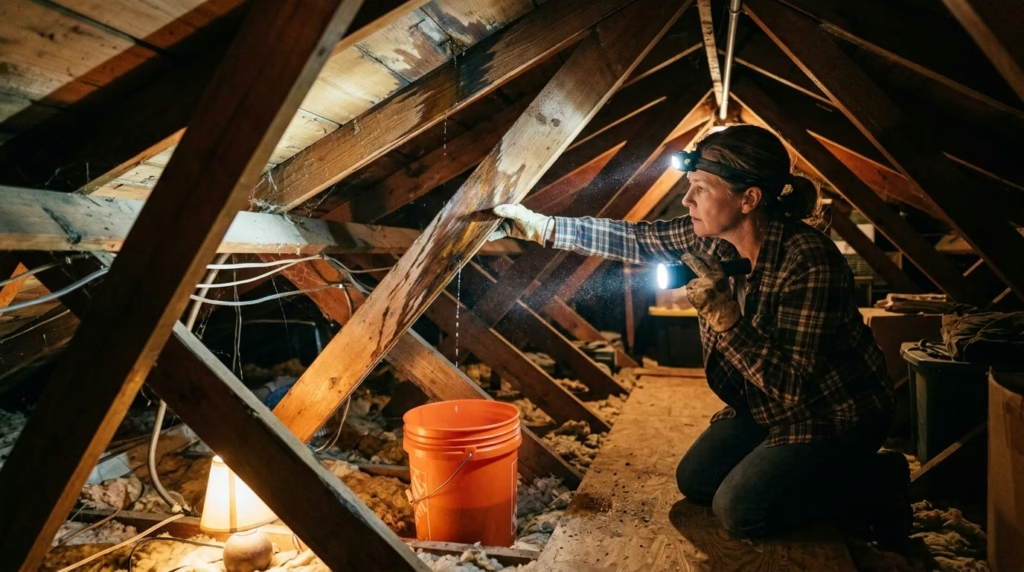
Grab a flashlight and head into the attic during or just after rain — that’s when the trail is fresh. Here’s how to find a roof leak safely:
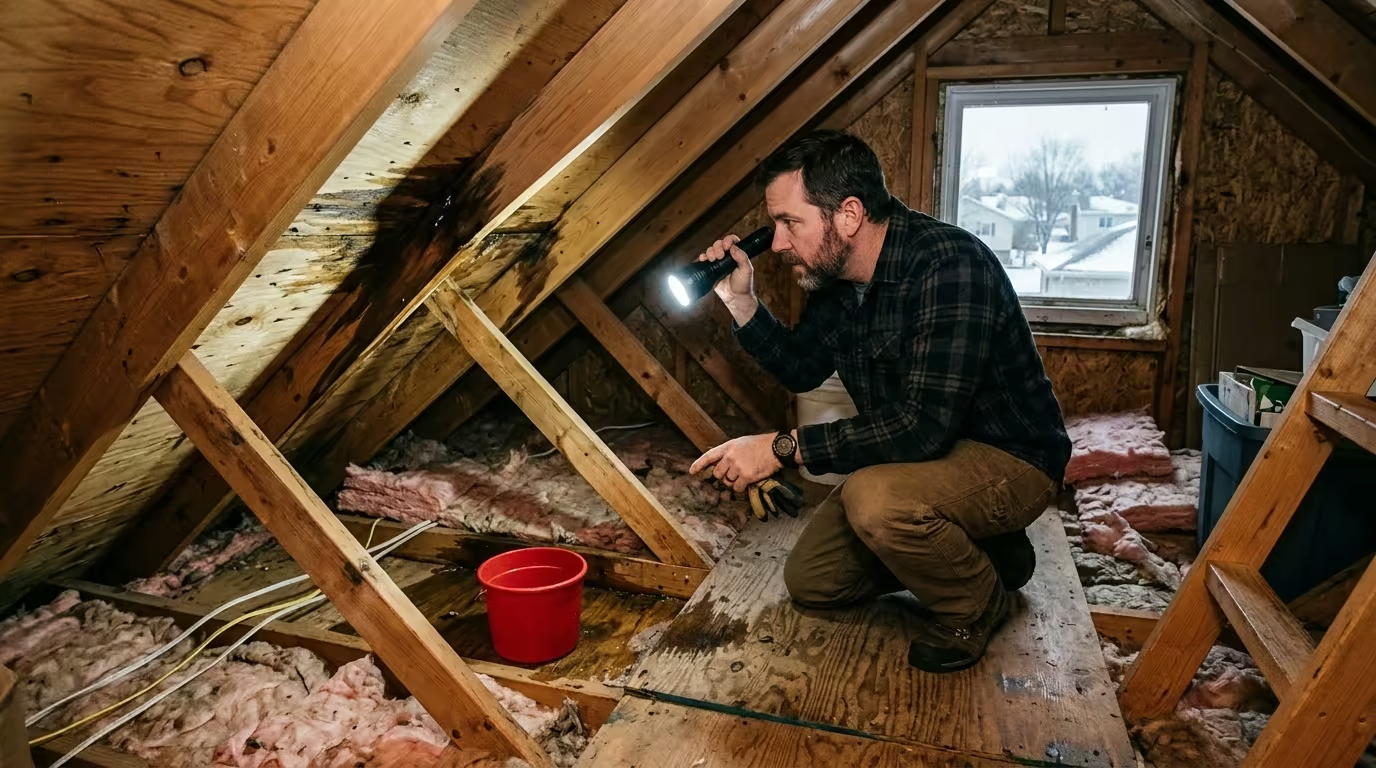
- Follow the water uphill. Water runs down rafters and decking before dripping, so the ceiling stain is rarely directly below the entry point. Trace stains upward to their highest point.
- Look for daylight. With the attic lights off, pinpricks of daylight through the deck mark holes or gaps.
- Check the usual suspects. Around 90% of leaks start at penetrations and transitions: chimney flashing, vent pipes, skylights, valleys, and where dormers meet the main roof.
- Mark the spot. Push a nail or stick a piece of tape at the source location from inside — it makes the pro’s job (or your careful exterior patch) much faster.
Never enter an attic with sagging, waterlogged drywall below you, and watch your step — walk only on joists, not on the drywall between them.
DIY Roof Leak Repair Fixes That Are Actually Reasonable
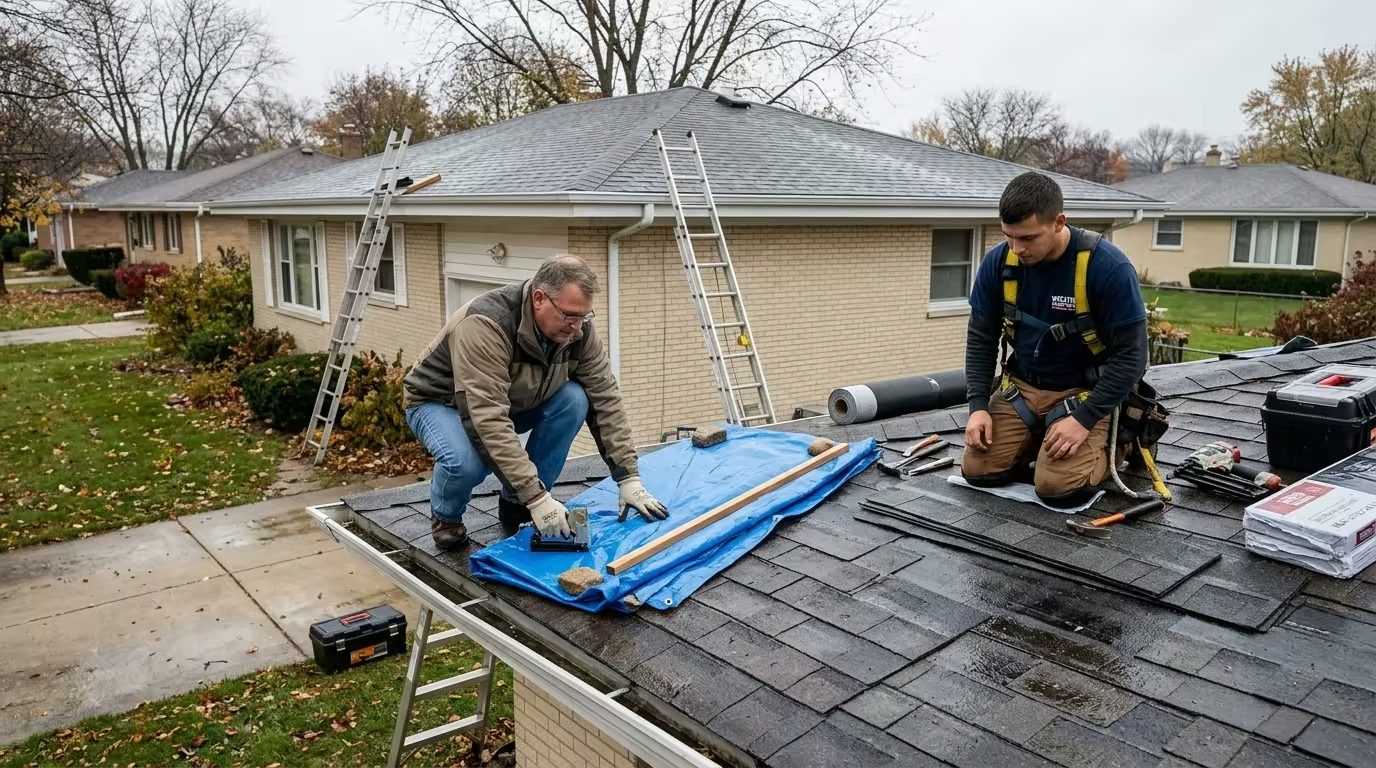
With the source identified, these are the fixes a careful homeowner can attempt — all from a ladder at the eave or from inside, never by walking the roof:
Resealing small flashing gaps. If you can see a cracked or shrunken bead of sealant around a vent pipe from a securely footed ladder, cleaning the area and applying roofing cement or exterior-grade polyurethane sealant is a legitimate fix. This handles many minor signs of roof leak around penetrations.
Replacing a single damaged shingle (ground-accessible eave only). If a shingle tab is cracked or missing at the roof’s edge and you can reach it from a ladder without stepping onto the roof, you can slide a replacement shingle up under the course above and secure it with roofing nails and a dab of sealant. Match the shingle type and color as closely as possible.
Clearing debris from valleys and gutters. Leaves and branches dam water and force it sideways under shingles. Clearing them from a ladder (or with a telescoping tool from the ground) is safe, easy, and prevents a surprising number of leaks.
Applying a temporary patch. For a small, clearly identified hole, a self-adhesive roofing patch or a piece of flashing sealed with roofing cement can hold for weeks. Think of this as a temporary roof repair — a bridge to a permanent fix, not the fix itself.
What You Should NEVER DIY
Be blunt with yourself about these — they are where DIY goes wrong:
- Walking on a wet, icy, mossy, or steep roof. Illinois freeze-thaw cycles make winter roofs treacherous. If you need to ask whether it’s safe, it isn’t.
- Chipping at ice dams. Hammers, axes, and chisels tear shingles and gutters. Ice dam problems need steam removal or professional help — see our guide on ice dam roof leaks.
- Electrical hazards. Water near service masts, attic wiring, or light fixtures means hands off until an electrician or roofer clears it.
- Structural damage. Sagging decking, rotted rafters, or a visibly dipping roofline are structural issues. No sealant fixes structure.
- Full flashing replacement or re-decking. These require removing courses of shingles, proper underlayment layering, and step-flashing technique. Done wrong, they create bigger leaks than the one you started with.
- Anything in high wind or lightning. Obvious, but storm-chasing your own roof has killed people. Wait it out.
Ladder Safety Checklist
Most DIY roofing injuries are ladder injuries, not roofing injuries. Run through this list every time:
| Check | Why It Matters |
|---|---|
| Ladder extends 3 ft past the eave | Gives you a handhold when stepping on/off |
| 4-to-1 angle (1 ft out per 4 ft up) | Prevents tipping backward or sliding out |
| Firm, level ground; stabilizer if soft | Wet Illinois soil shifts under load |
| Three points of contact at all times | Two hands + one foot, or two feet + one hand |
| Non-slip shoes, dry rungs | Most ladder falls start with a slip |
| Never reach sideways — move the ladder | Overreaching is the #1 cause of ladder tip-overs |
| No metal ladders near power lines | Electrocution risk is real and instant |
| A spotter on the ground | Someone to foot the ladder and call for help |
If your roof is two stories, steeply pitched, or you feel uneasy at height — that unease is information. Listen to it and call a professional.
When to Call a Pro: 5 Clear Signals
- You can’t find the source after a thorough attic inspection.
- The leak returns after your temporary fix, or appears in multiple places.
- You see widespread shingle damage, sagging, or daylight through the deck.
- The roof is steep, high, wet, or icy — or it’s an emergency roof leak repair situation during a storm.
- The home is older and you suspect the decking or structure is compromised.
A professional inspection typically costs little and gives you photos, a written assessment, and a firm quote — which is exactly what you need to decide between repair and replacement anyway.
Frequently Asked Questions
Can I fix a roof leak myself with sealant?
For a small, clearly identified gap — like cracked sealant around a vent pipe — yes, roofing cement or polyurethane sealant from a ladder is a reasonable DIY fix. But sealant smeared over a larger problem (failing flashing, cracked valley, widespread shingle damage) just hides the leak temporarily while water keeps working underneath. Sealant is a patch, not a diagnosis.
What’s the best temporary fix for a roof leak?
Inside: contain the water, protect belongings, and drain bulging ceilings. From outside at the eave: a securely fastened tarp extending past the ridge of the suspected area, or a self-adhesive patch on a small hole. Both are stopgaps — schedule the permanent repair within days or weeks, not months.
Is it safe to go on my roof to fix a leak?
Only if the roof is dry, low-slope, single-story, and you have proper footwear, a stable ladder, and ideally a spotter. Never go up in rain, wind, ice, or darkness. Most homeowners overestimate their comfort at height — when in doubt, stay off and call someone with harnesses and experience.
How long will a DIY patch last?
A well-applied temporary patch typically holds weeks to a few months. It is not a permanent repair. Plan the real fix promptly, because every storm that hits a patched roof risks turning a small leak into interior water damage.
Should I try to fix a leak during a rainstorm?
No. Do interior damage control only — buckets, tarps, power off near water. Exterior work in rain is dangerous and sealants won’t bond to wet surfaces anyway. Wait for dry conditions.
Will my DIY repair void the roof warranty?
Possibly. Many manufacturer warranties require repairs by certified contractors, and improper DIY work can void coverage. Check your warranty paperwork before doing more than temporary emergency measures.
Get Help When DIY Isn’t Enough
You handled the emergency like a pro — now let a pro handle the roof. Get a proper inspection, a written quote, and a permanent fix.
Further Reading
- Family Handyman: 12 Tips for Finding and Fixing Roof Leaks — practical leak-detection tips for homeowners
- This Old House: How to Find and Fix a Roof Leak — step-by-step leak-finding and repair walkthrough from a trusted home-improvement source
External links open in a new tab and are provided for reference; we are not affiliated with these publishers.
Roof leaking in Carol Stream? Get help fast.
Call Carol Stream Leak & Restoration at (630) 866-1445 — we’ll connect you with a local repair professional serving Carol Stream, Bloomingdale, Glendale Heights, Wheaton, Hanover Park, Bartlett, and West Chicago.
Carol Stream Leak & Restoration is a local referral service that connects homeowners with independent local repair professionals; it is not a roofing contractor.